The Loyalty Kits for iOS is built with dependency management in mind. Cocoapods is therefore a requirement for developers to be able to incorporate the kits into their projects and build loyalty applications in no time.
Setting up Loyalty Access
Before creating an app running on top of the Loyalty Platform, make sure you have a valid login to the Loyalty Marketing Console.

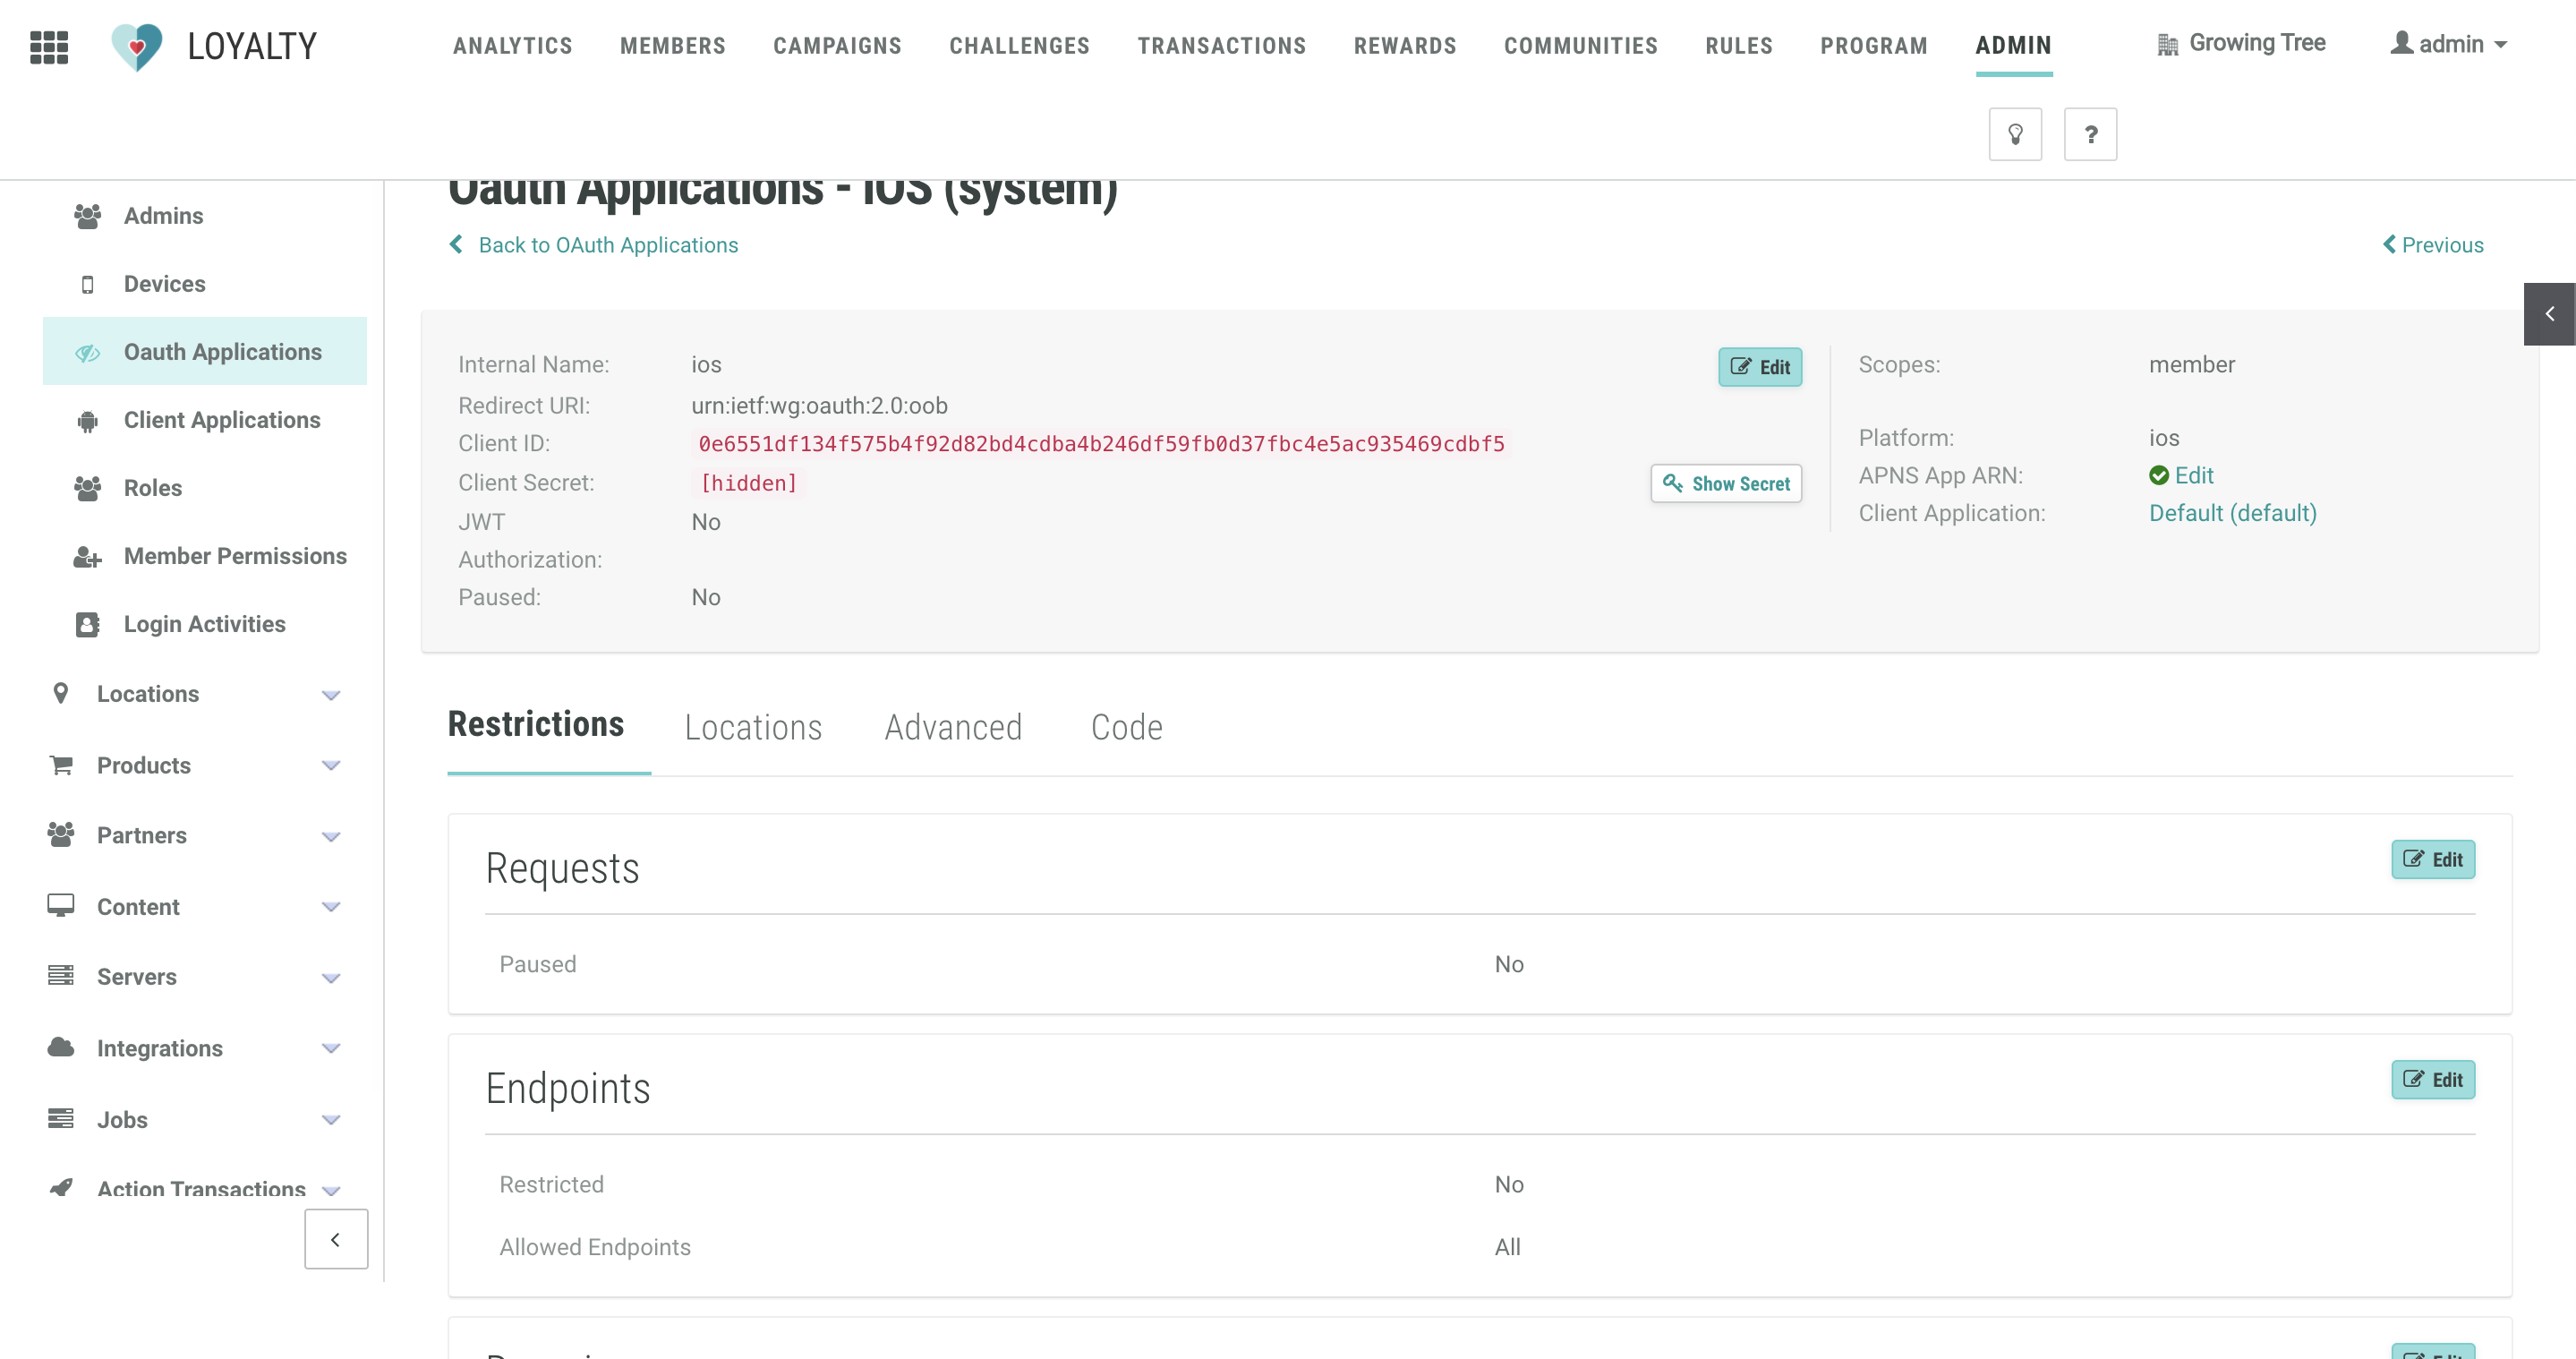
Then, navigate to the Applications screen in the Loyalty Marketing Console to get your Member API OAuth Client ID and Client Secret.

Requirements
- Deployment Target: iOS 11.0
- Xcode 11.x
- Swift 5.1
Installation
Cocoapods
- Open a terminal window then add the private podspec repo to the Cocoapods installation by entering the following:
pod repo add CheetahLoyaltySDK https://github.com/LoyalSphere/cheetah-loyalty-ios-sdk-podspecs.git -
Add a source for the CheetahLoyaltySDK then add the
Loyalty Digital Kitspod in your podfile:platform :ios, '11.0' source 'https://github.com/LoyalSphere/cheetah-loyalty-ios-sdk-podspecs.git' source 'https://github.com/CocoaPods/Specs.git' target '<YourApp>' do # Comment the next line if you're not using Swift and don't want to use dynamic frameworks use_frameworks! pod 'CheetahDigitalCore' pod 'CheetahDigitalUI' pod 'CheetahDigitalChallenges' pod 'CheetahDigitalPlaces' pod 'CheetahDigitalRewards' pod 'CheetahDigitalNotifications' end - Open a terminal window to where your project and podfile is located and run the following to install the pod:
pod install
Manually
- Download the CheetahDigitalCore SDK from the releases.
- Extract it then drag & drop
<CheetahDigitalKit>.xcframeworkto your project’s directory. - In “Frameworks, Libraries, and Embedded Content” section under the “General” tab, click on the “+” button then “Add Other”, and then “Add Files…”.
- Select the
<CheetahDigitalKit>.xcframeworkfile and make sure that it is set to “Embed & Sign” in the “Embed” column in the “Frameworks, Libraries, and Embedded Content” section under the “General” tab.
Configuration
Before using the Loyalty Digital Kits, a configuration file is needed to determine the settings it needs upon sending requests. The configuration file is a plist named CheetahDigital-Info. The file is to be included in the project bundle.
The primary contents of this CheetahDigital-Info.plist are as follows:
<?xml version="1.0" encoding="UTF-8"?>
<!DOCTYPE plist PUBLIC "-//Apple//DTD PLIST 1.0//EN" "http://www.apple.com/DTDs/PropertyList-1.0.dtd">
<plist version="1.0">
<dict>
	<key>BUSINESS_UNIT</key>
	<string>SwiftSDKBusinessUnit</string>
	<key>USER_AGENT_NAME</key>
	<string>SwiftSDK</string>
	<key>CLIENT_ID</key>
	<string><your_client_id></string>
	<key>CLIENT_SECRET</key>
	<string><your_client_secret></string>
	<key>CLIENT_URL</key>
	<string><your_client_url></string>
	<key>METRIC</key>
	<string><your_metric></string>
	<key>GEOFENCING_ENABLED</key>
	<true/>
	<key>ACCESS_TOKEN_EXTERNAL</key>
	<false/>
	<key>APP_LANGUAGE</key>
	<string><your_app_language></string>
</dict>
</plist>
The keys used in the CheetahDigital-Info.plist are:
BUSINESS_UNIT- String indicating the business unit.USER_AGENT_NAME- The user agent name to be used in the header of requests.CLIENT_ID- The API KEY for the Loyalty APICLIENT_SECRET- The API SECRET KEY for the Loyalty APICLIENT_URL- The URL of the Loyalty API gatewayMETRIC- The API metricGEOFENCING_ENABLED- Boolean flag that indicates whether geofencing is enabledACCESS_TOKEN_EXTERNAL- Boolean flag that indicates whether the access token is from an external sourceAPP_LANGUAGE- String indicating the app language
Some of these values can be found in the console of the environment the app is going to use.
After completing the steps outlined above, you are now ready to make an app using the Loyalty Digital Kits!
