 Program Settings
Overview
Program Settings is the central screen for managing global settings for your Loyalty Program. The screen includes a wide range of configuration settings, organized into categories.
Note: Modifying the configuration options on the Program Settings screen can have a critical impact on the operations of your Loyalty account. If you have any questions about any of the Program Settings, please speak to your Client Services representative for assistance.
Access
To access the Program Settings screen, select Program from the Main Navigation Menu, then select Settings > Program Settings from the Sub-Category menu.
Features
The Program Settings screen provides the following features:
|
The search feature allows you to search for a specified configuration option based on its name or description.
|
|
Certain Loyalty assets, such as Offers and Rewards for example, support the use of localized content. The Available Member Content Locales section allows you to define what locales and languages you support. Note: The localization feature is an optional feature that must be enabled in your account. Please speak to your Client Services Representative for more details. To define your supported locales:
To define the default locale and language that are used in the event that a field doesn't have localized content defined for it:
|
|
The Show Page Customization category allows you to configure the following settings. Configure Landing PageThis configuration allows you to define a global landing page that's displayed when a user logs into the platform. Note: An Administrator can also define a default landing page at a Role level (see Roles for more details). In the event that a Role-based configuration conflicts with the global configuration, the Role-based configuration takes precedence.
Show Page Tab HiderThis configuration allows you to "hide" tabs on specific screens so they're not accessible to users.
|
|
The Global category allows you to configure the following settings. Time Zone in Relative PeriodsOptionally, you can configure the platform to utilize a “relative” time zone when calculating Offer expiry times. Loyalty program Members register with the program in the specific time zone according to their residential address. However, for programs that operate across multiple time zones, redeeming an Offer could take place in a different time zone. If an Offer is being redeemed in a different time zone than the Member’s residence, the exact expiry date/time can be adjusted accordingly. By default the relative time zone is set to UTC, so the platform will expire objects like Offers, Rewards, and Gift Cards on the expiration date at 23:59:59 UTC. This configuration may be undesired though. For example, a Member in Central Standard Time (UTC-6) in the U.S. would have their Offer expire at 17:59:59 CST. To provide a better experience for their Members, brands typically configure the Relative Time Zone feature to the westernmost time zone for their program, and so Offers continue to be redeemable throughout the last day of the Offer period. To set the Relative Time Zone:
|
|
The Discount category allows you to configure the following settings. Discount Service Display Message ContentThis configuration is intended for use by Loyalty programs using our Point of Sale (POS) integration via the Sparkfly POS system. This configuration allows a marketer to configure a template for a pop-up message to display on the Point of Sale system when the Member is added to the check or bill.
Any Member Attribute that is present in a Member Profile can be added using the format shown for each of the examples below. To display the Member that was added to the check or bill:
To display the Points the Member needs to reach their next Reward:
The balance of any Metric can be added using the format shown for each of the examples below. To display the Member's current Point balance:
To display the Member's lifetime visits:
To display the Member's qualified purchases:
For implementations using Coupon Offers as rewards, the list of available Offer rewards can be added using the following example format (syntax): {{offer_responses | size}} {% for offer_responses in offer_responses%}{{ offer_responses.offer_label }} Exp {{ offer_responses.usage_end | timezone: "Pacific/Honolulu" | date: "%m/%d/%Y" }} {% endfor %) Always start with specifying the keyword, such as: {{offer_responses | size}} Always follow with the loop start, such as: {% for offer_responses in offer_responses%} Include the following if the requirement is to display the offer label: {{ offer_responses.offer_label }} Include the following if the requirement is to display the expiry date when relative time zones are in use: Exp {{ offer_responses.usage_end | timezone: "Pacific/Honolulu" | date: "%m/%d/%Y" }} Include the following if the requirement is to display the expiry date when relative some zones are not in use: Exp {{ offer_responses.usage_end}} Always end with the loop end, such as: {% endfor %) |
|
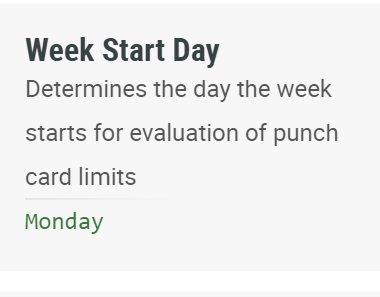
Note: This setting allows you to configure weekly limits for both Standard Punch Cards and External Punch Cards. Week Start Day Program Setting Indicates the day of the week the weekly limit period begins. This value defaults to Monday but can be configured per the business requirements. To set the Week Start Day:
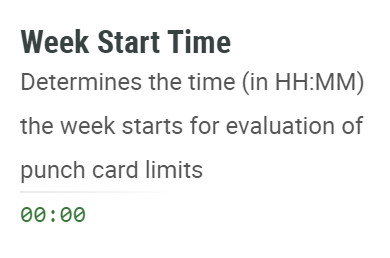
Week Start Time Program Setting Indicates the time, in 24 hour notation, that the weekly limit day begins. This value defaults to 00:00 but can be configured per the business requirements. To set the Week Start Time:
|
|
By default, the system removes all response data, activities, and the member when a member record is deleted. When the Response Data to Preserve When Member is Deleted program setting is configured, the system will not delete records of the specified type but instead will remove the linked member_id.
|
|
You can configure the General settings to list categories, set up logins, format the type of logins, create access tokens, and more. General settings help you organize and configure your data to suit your business needs. Member and Program API lists can be found in this section as well. Login with mobile_phone This setting allows you to turn on a member’s ability to login using mobile_phone. Note: Requires all mobile_phones to be unique.
Required mobile phone format This setting allows you to select the mobile phone country code normalization and validation. Notes: 1. You may select multiple values from the Value drop-down menu. 2. Phone validation is done in accordance with acceptable international formats in order to deliver more accurate and comprehensive global phone validation behavior.
|
|
You can manage custom logins through the Login program setting. This includes different features like account lockouts, custom logins, unique identifiers, and more for your customers’ accounts. The following sections discuss the different types of ways to manage your customers' logins and how to configure them to your preferred settings. Member Unique identifier This setting allows you to select an attribute to use as a primary member unique identifier for login and signup
|
|
Member API Multi-Authentication (MFA) feature allows programs that use the Member API to support member authentication. This implements a higher level of authentication security to enable the system to send a one-time passcode (OTP) that members must include when authenticating to successfully complete the process. The Member API MFA feature allows you to configure the following settings. Note: This feature is only for customers sending via Marigold Engage+ Implemented with EDP Sends/Smart Sending enabled. Enable MFA This setting allows you to enable the use of MFA.
Channels This setting allows you to select which channel(s) to use for the sending OTP.
MFA token expiry This setting allows you to set the lifespan of a MFA token.
OTP code drift This setting allows you to select extra waiting time on top of the 30 seconds validity of the OTP code.
OTP Email sender job This setting allows you to select the sender to send the OTP to via standard message format (SMF) email.
OTP SMS sender job This setting allows you to select the sender to send the OTP to via standard message format (SMF) SMS.
|
|
You can configure members’ accessibility in program settings. Program settings include grouping member attributes, CSR tab visibility, downloadable links, and more. SSO Expected Params This setting allows you to list the fields expected to be passed when creating or updating members via SSO endpoint. Note: Field name should be passed even if it is blank, i.e. '-F email='
|
|
By default, the system will scan an uploaded receipt using OCR (Optical Character Recognition) integration. When the Skip OCR Scanning program setting is configured, receipts submitted via the API will create a receipt record, but users must then manually review receipts to update, approve, and complete them.
|
|
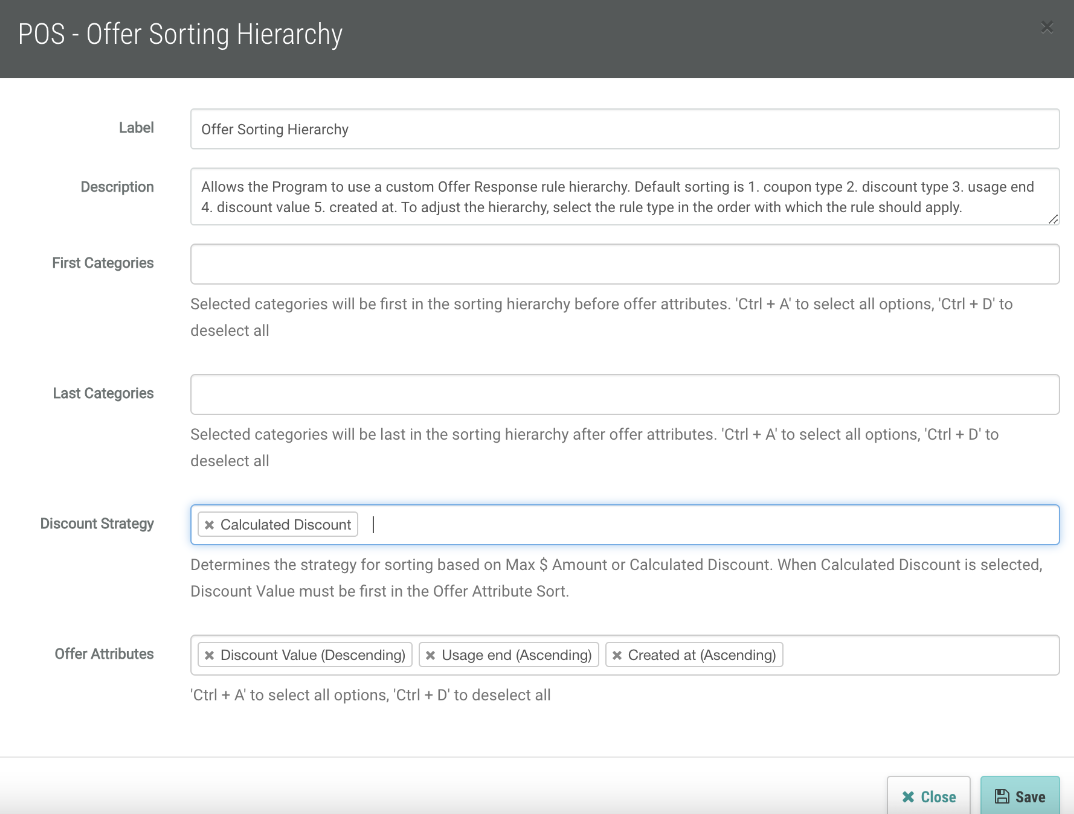
Offer Categories within Offer Sorting Hierarchy In the Offer Sorting Hierarchy program setting, Offer Categories is an option that allows users to prioritize which Offer Category should be included in the offers returned by the POS APIs. Users can identify offers that should always return first before Offer Attributes, and offers that should always return last after Offer Attributes.
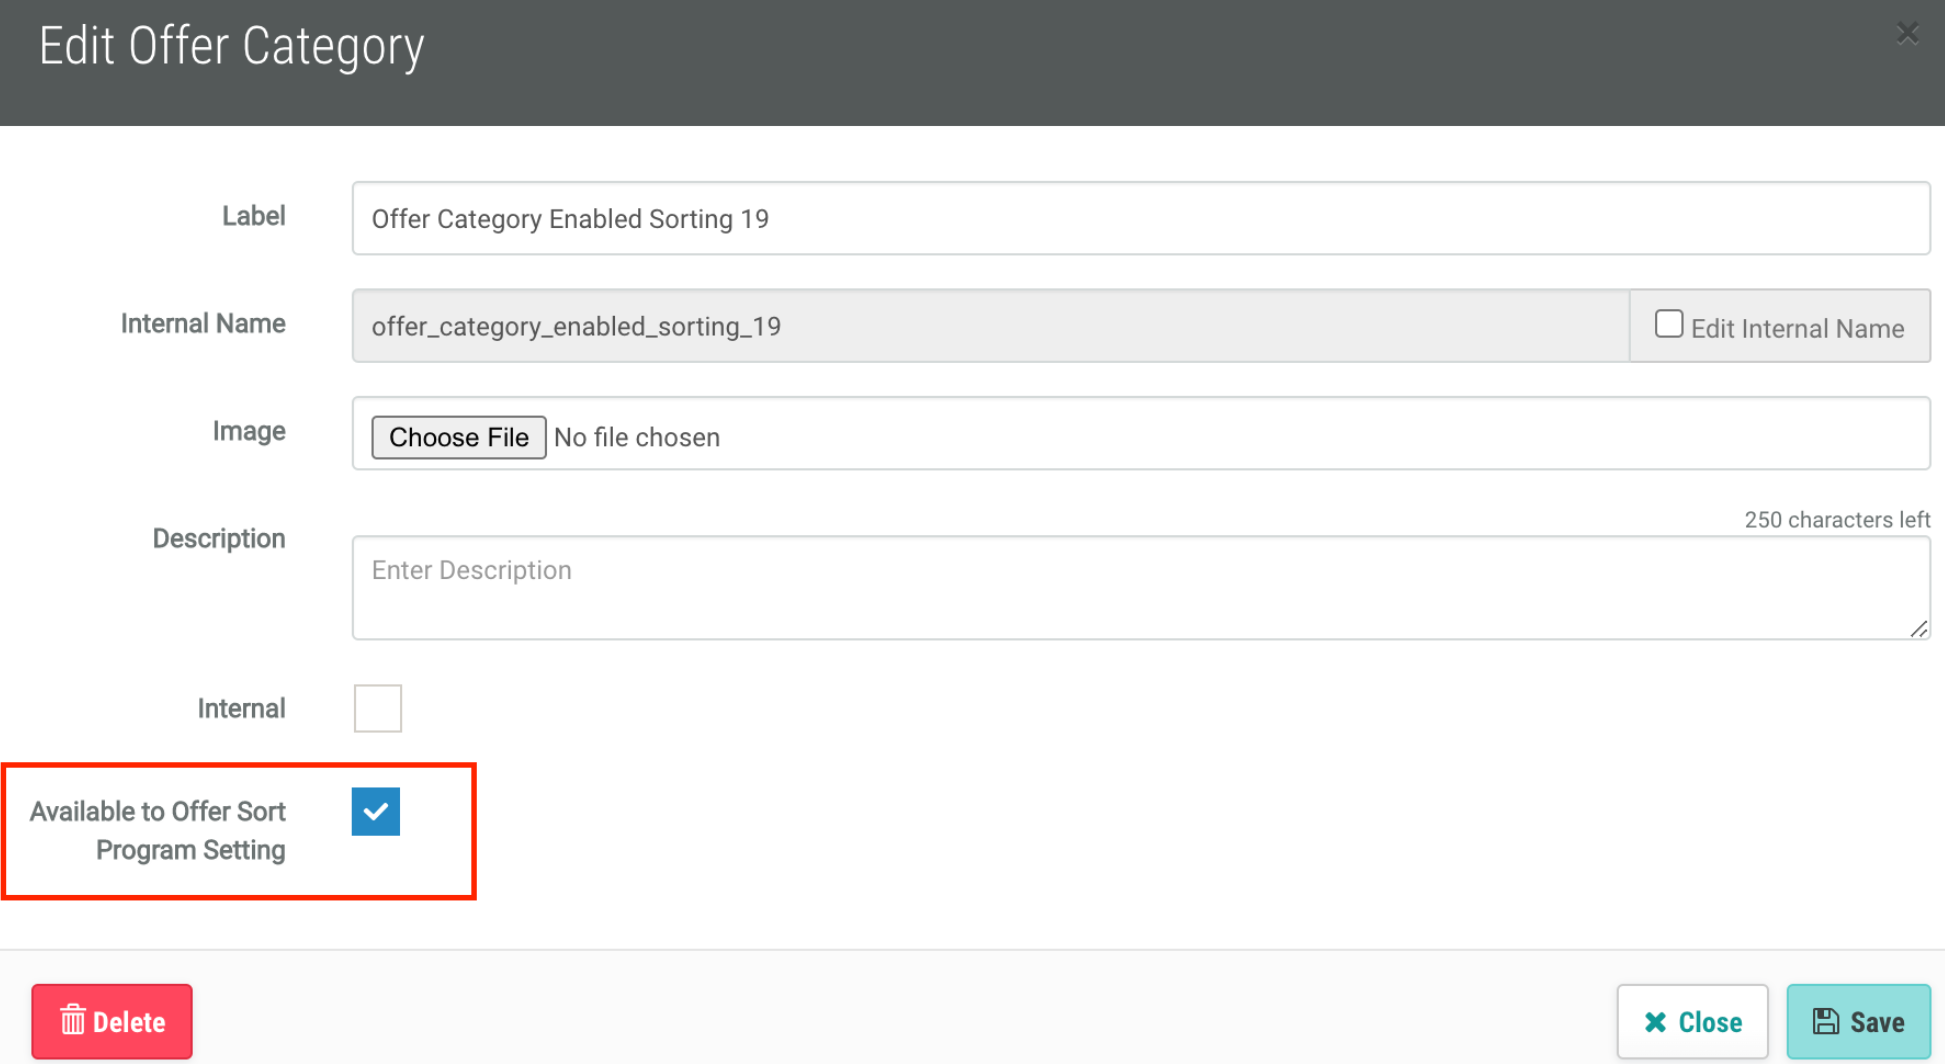
Enable Sorting Attribute In order to enable the Offer Categories option, you must first enable the sorting attribute in the Edit Offer Category pop-up:
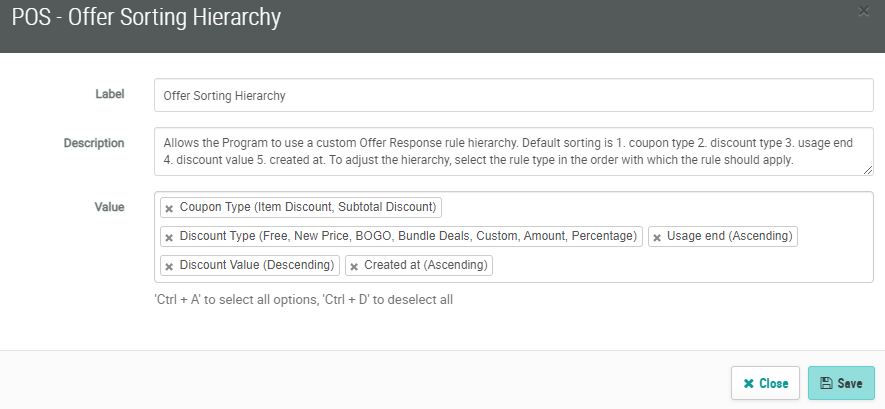
Offer Sorting Hierarchy By default, when offers are fetched by the POS APIs, the offer responses are sorted in a standard hierarchy: 1. Coupon Type, 2. Discount Type, 3. Usage End, 4. Discount Value, and 5. Created at.
The Offer Sorting Hierarchy program setting allows customers the ability to apply a different offer rule ranking. This setting allows the program administrator to select an offer response sort from a drop-down in the program setting. The order in which the offer attributes are selected will then be the order with which the Rule will apply. As an example, if the admin selects Discount Value first, and then Usage End, the rule hierarchy will be the following for all offer responses:
Notes: To configure your Offer Sorting Hierarchy:
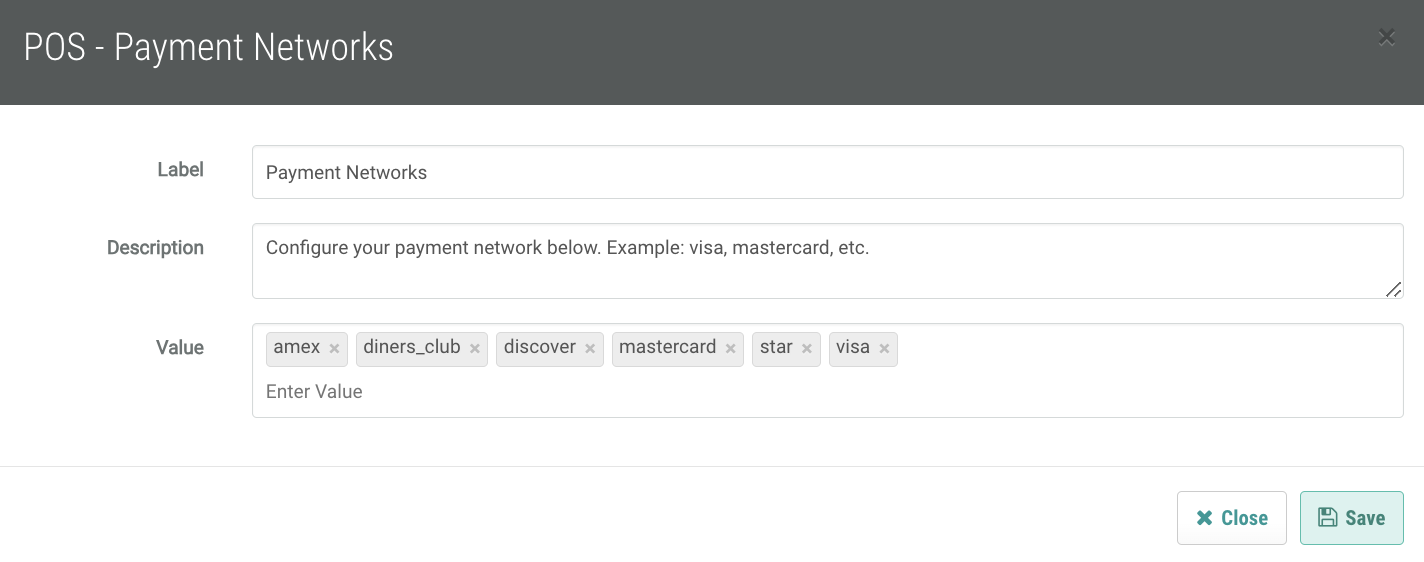
Payment Networks Payment Networks help you configure network types for sending specific payment information for a POS transaction. To configure your payment network:
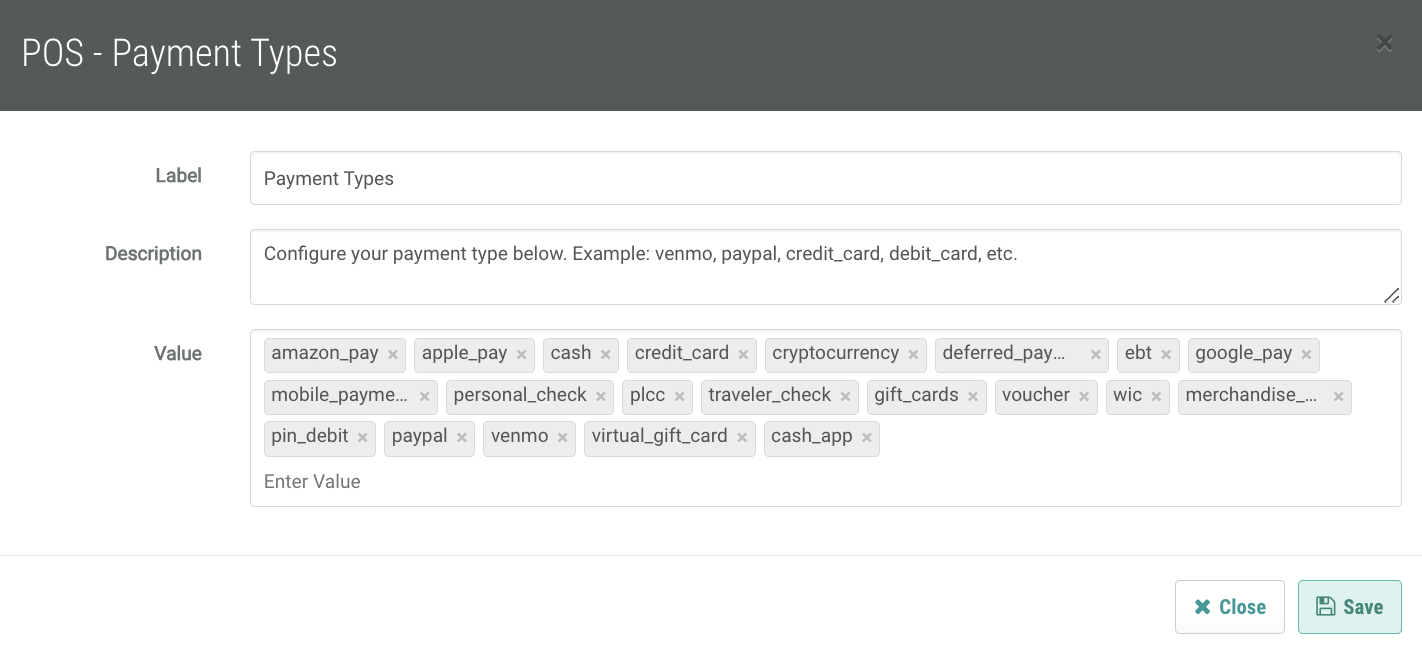
Payment Types Payment Types help you configure payment types for sending specific payment information for a POS transaction. To configure your payment type:
|
|
This program setting maps to the custom attribute enabled for the program. Specifically, this setting allows the program to use a custom member attribute as an alternative to Member Place Integration ID and link to the Place Integration ID to determine the time zone for a location, store, or property in the Member profile. This setting is required to be configured if the program is using Offer Effectivity based on a Member's preferred location, and if the program has a custom attribute for locations. For customers who have enabled a custom attribute, such as favorite store, favorite location, or preferred property, the standard Place Integration ID requires an override in order for this capability to apply the location time zone properly.
|
|
Brands that submit orders to Marigold Loyalty via Sparkfly or OLO integrations can configure the Offer Location Eligibility parameter. The Sparkfly and OLO integrations will then allow or restrict offers from being returned depending on whether the order location is permitted to access and redeem the offer. Similar to Segment Eligibility which allows marketers to target offers to certain groups of members, Location Eligibility controls which locations can access and redeem an offer:
|
|
This system can evaluate criteria on member punch cards when processing orders submitted via Sparkfly and OLO integrations. Enable Enhanced Punch Criteria This setting allows you to enable punch card criteria.
Punch Card Type Whitelist This setting allows the system to evaluate and specify punch cards when processing orders.
Note that for each punch card included for evaluation, the system will take additional time to process the inbound API request, so it is recommended that you limit the set of punch cards to evaluate to be a number of five or less. This is subject to the sensitivity of business requirements to the time it takes to process each submitted order. |
|
This capability saves OLO order identifiers as globally unique identifiers for Loyalty order records, eCommerce, and point-of-sale (POS) Integrations.This allows brands that have OLO integrations to capture the OLO order id in Loyalty as a unique key which can prevent duplicates if the OLO orders are submitted to the POS system and then transmitted to Loyalty in a retro claim file feed. Additionally, using this feature will prevent duplicate order records from being created as long as the retro claim file feed includes the OLO order id in the order global unique identifier (*guid) column, and guid is used as a match by option in the import definition. With this configuration, the system will check the imported order.guid against all existing orders and prevent creating a new order if the same OLO order id was used by an existing order. *guid: A guid (global unique identifier) is a 128-bit number created to uniquely identify resources.
|
|
This connector allows Aptos POS and its Loyalty and Customer management capabilities to integrate with Marigold Loyalty. The connector supports the following capabilities:
*Loyalty Plan definition: This is an Aptos concept; it includes an identifier, a plan name, a start date, and other Aptos dependencies. *Rewards: Rewards in Aptos that are in the Loyalty plan are expected to be returned by the Loyalty platform. In Loyalty itself, a reward can be a coupon reward (points used) or coupon offer (no points used). Features for AptosThe features available for this connector that can be configured are the following: Aptos Loyalty Plan Key
Aptos Loyalty Plan Name
Aptos Loyalty Plan Start Date
Aptos Membership Status Key
Supported Currencies
Supported Languages
Customer Email Opt-In Indicator
Customer Default Birth Year
Customer Signup Store Attribute.
|
|
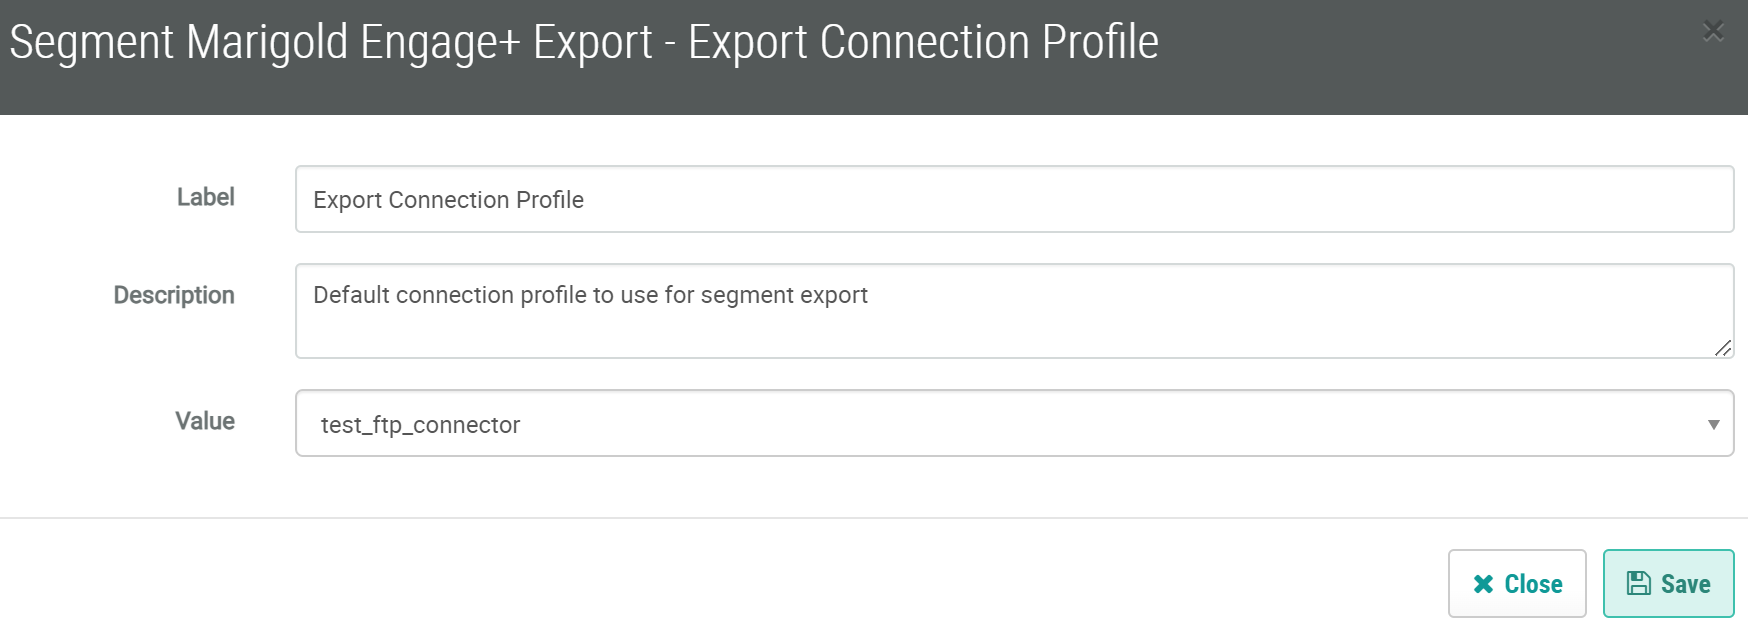
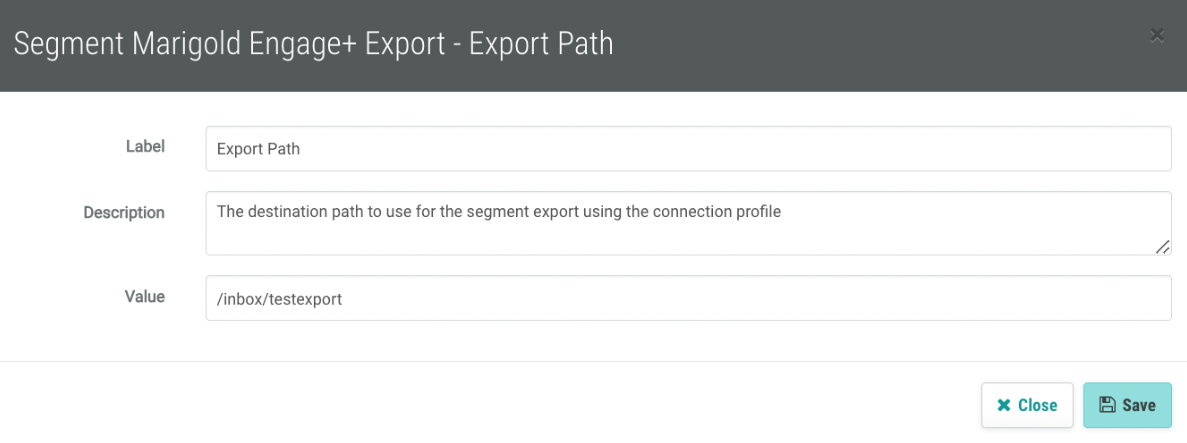
The Segment Marigold Engage+ Export program setting is designed to configure the export destination of segments from Marigold Loyalty to Marigold Engage+. This setting is configured after the connection profile has been created. The three components of the setting are Export Connection Profile, Export Path, and Export File Prefix. Export Connection Profile: The value set for the connection profile, the S3 or FTP profile created for exporting the file to Engage+. The value comes from the Connector. For more on how to set the Connector, please refer here.
Export Path: The value of the path where the segment file will be dropped is set in the value field. If not specified, the file will be uploaded to the root directory of the connection profile.
Export File Prefix: The prefix value will be prepended to every segment file name. This is typically used to identify where the file is coming from. If not specified, Loy will be the default prefix.
|

|
The Certificate Generation Defaults program setting enables users to configure a setting that controls a default used for the Code Prefix, Length of Code, and Excluded Characters fields. This reduces time in configuring offers and/or generation of certificates.
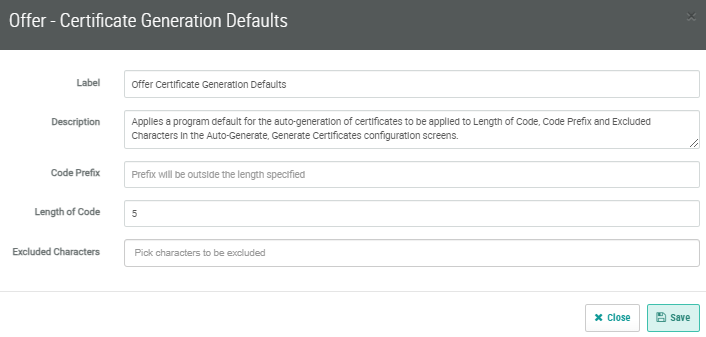
Alternatively, you may also configure these default settings within the Offer Generate Certificate Codes page or the Reward Generate New Certificate Codes page.
|
|
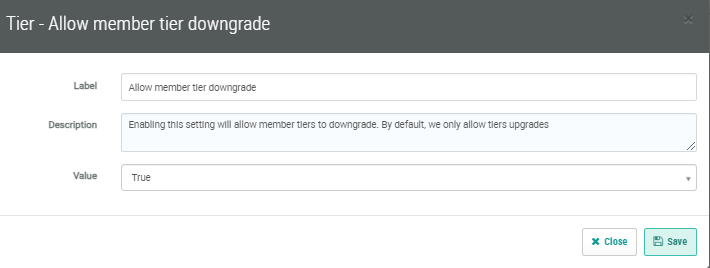
Enabling this setting will allow member tiers to be downgraded. By default, tiers only allow upgrades. To set the ability to downgrade a member's tier:
|
Back to Program Settings Overview
Last Updated: October 2024